Banner Manager
Create artwork, choose its audience and schedule, publish it on your storefront, and review banner engagement.
Before you start
Banner Manager separates reusable artwork in Image Storage from campaigns in Banners. A campaign decides where and when its selected images appear. Both the campaign and the image must be active.
Install magedia/m2-banner-manager through your authorized Composer repository together with its required Magedia Core dependency. Follow your store's deployment procedure: enable Magedia_Core and Magedia_BannerManager, run Magento setup upgrade, compile dependencies, deploy static content for your store locales, and flush caches. Configure Magento cron and email transport for expiration reminders.
The storefront integration uses Magento RequireJS, as used by Luma. Check compatibility before installing on a custom theme, Hyva, or a PWA storefront. Give administrators only the image, campaign, and statistics permissions they need.
1. Create an image
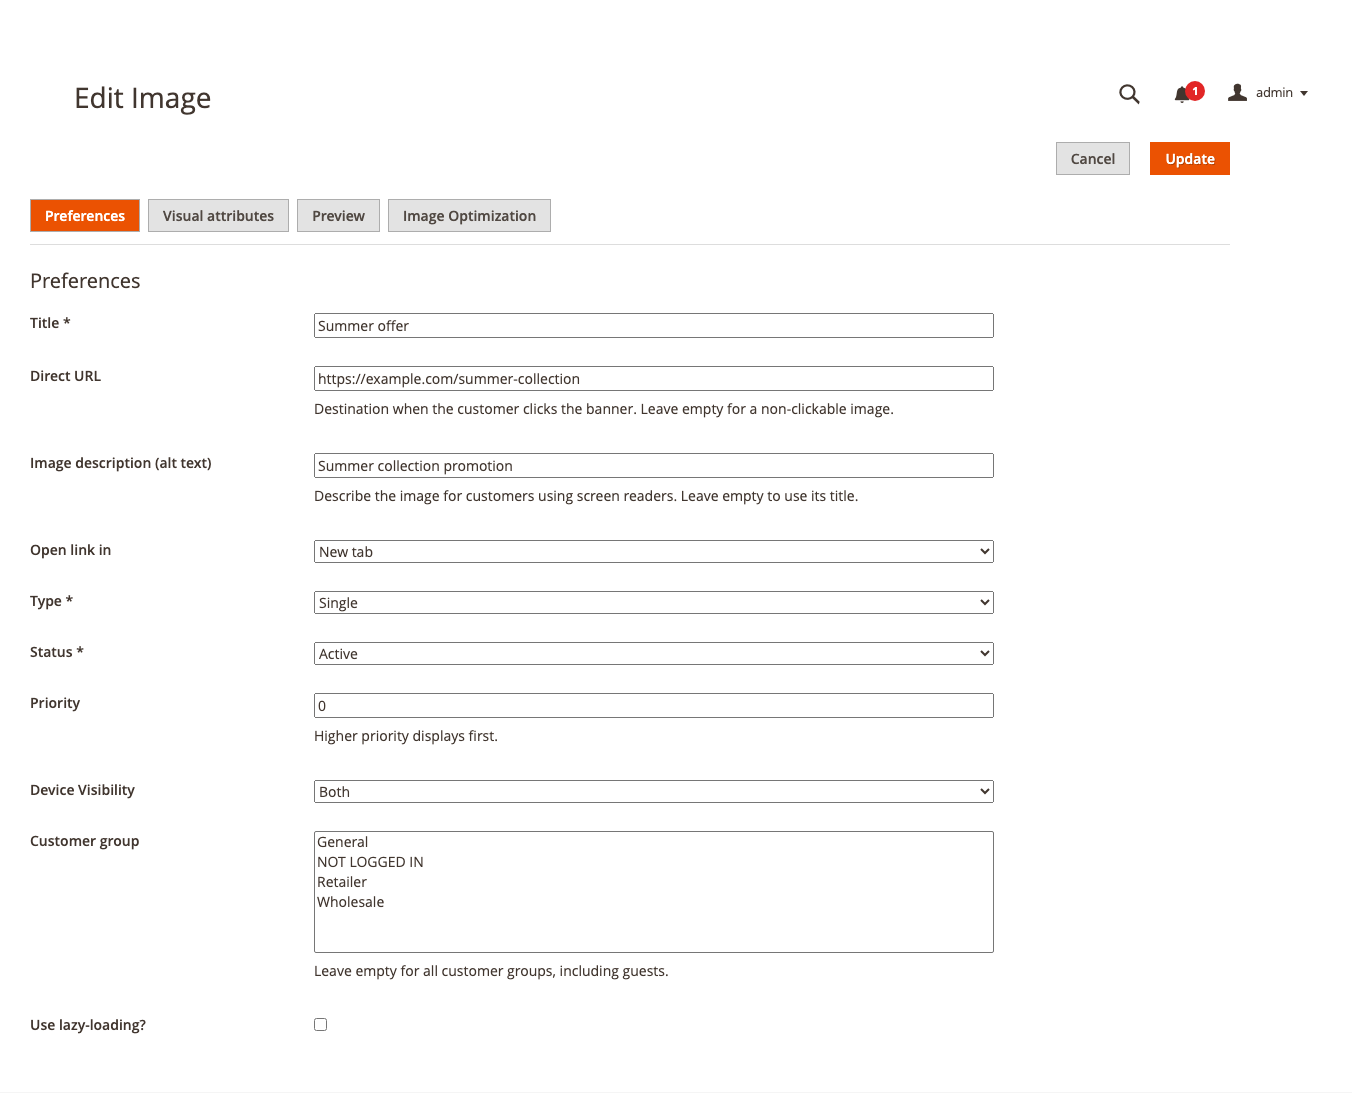
Open Magedia > Banner Manager > Image Storage and click Add New Banner. Enter a descriptive Title, such as Summer offer. The library grid lets you filter images and review their displays, clicks, and CTR.
In Preferences, choose the image Type and Status. Use Single for a normal banner, Single Full Width for a wide design, Left or Right for an aligned design, or Popup Banner for an overlay.
Direct URL is the HTTP or HTTPS destination when a customer clicks the image. Leave it blank for a non-clickable image. Choose Same tab or New tab. Add an Image description (alt text) for screen readers; a blank description falls back to the title.
Priority: higher values display first. Device Visibility: choose Both, Desktop, or Mobile. Customer group: leave the selection empty to include everyone, including guests. Selecting groups restricts the image to those groups. Lazy loading defers loading until the image is needed.
2. Upload and preview artwork
In Visual attributes, upload the required Banner Image. A brand logo and badge are optional. Configure the available text, button text, corner text, and colors to suit your design.
Supported uploads are SVG, PNG, JPG, and GIF, up to 10 MB. Very large raster images may be rejected. Size warnings do not remove an accepted upload; choose artwork appropriate for its placement.
Enable image optimization and open Image Optimization to compare originals with optimized files. Optimize each uploaded image as needed. PNG and JPG optimization can resize and compress artwork; SVG is sanitized and GIF animation is preserved. Removing an optimized copy leaves the original available.
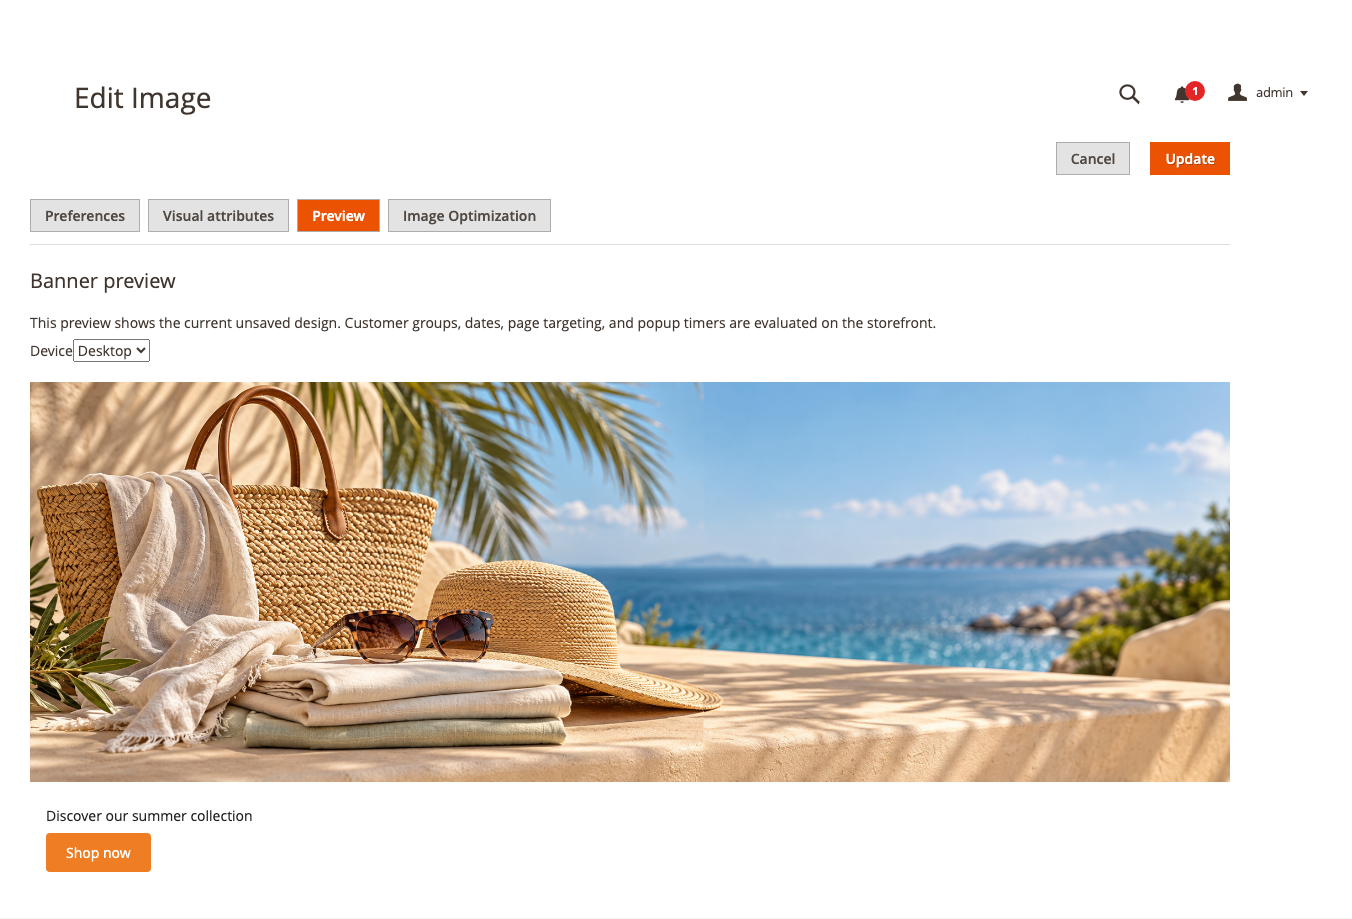
Open Preview and switch between Desktop and Mobile. Preview uses the current unsaved design and does not record displays or clicks. Audience rules, schedules, and popup timers are checked on the storefront. Click Update to save the image.
3. Create and schedule a campaign
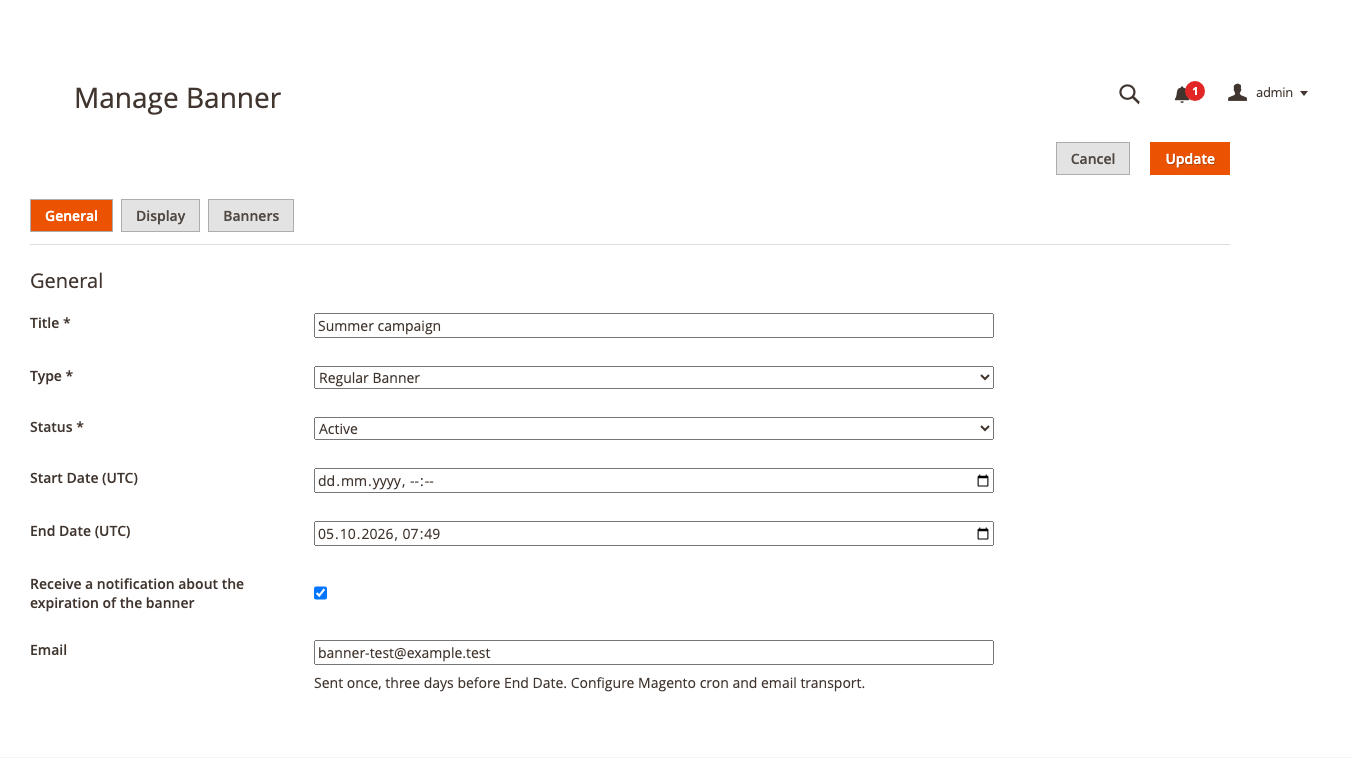
Open Magedia > Banner Manager > Banners. Choose Regular Banner or Promo Banner and click Manage Banner. Enter a campaign Title and keep Status inactive while preparing it.
Start Date (UTC) is the instant the campaign becomes eligible to appear. End Date (UTC) is the end of its availability. Enter UTC time, converting from your local timezone where necessary. A blank start has no lower time limit; a blank end has no expiry.
To receive an expiration reminder, select the notification checkbox, enter a valid Email, and set an End Date. Magento's hourly cron checks for active campaigns ending within three days and sends one reminder. Changing the end date, recipient, or notification option resets that reminder state.
4. Choose pages, stores, and images
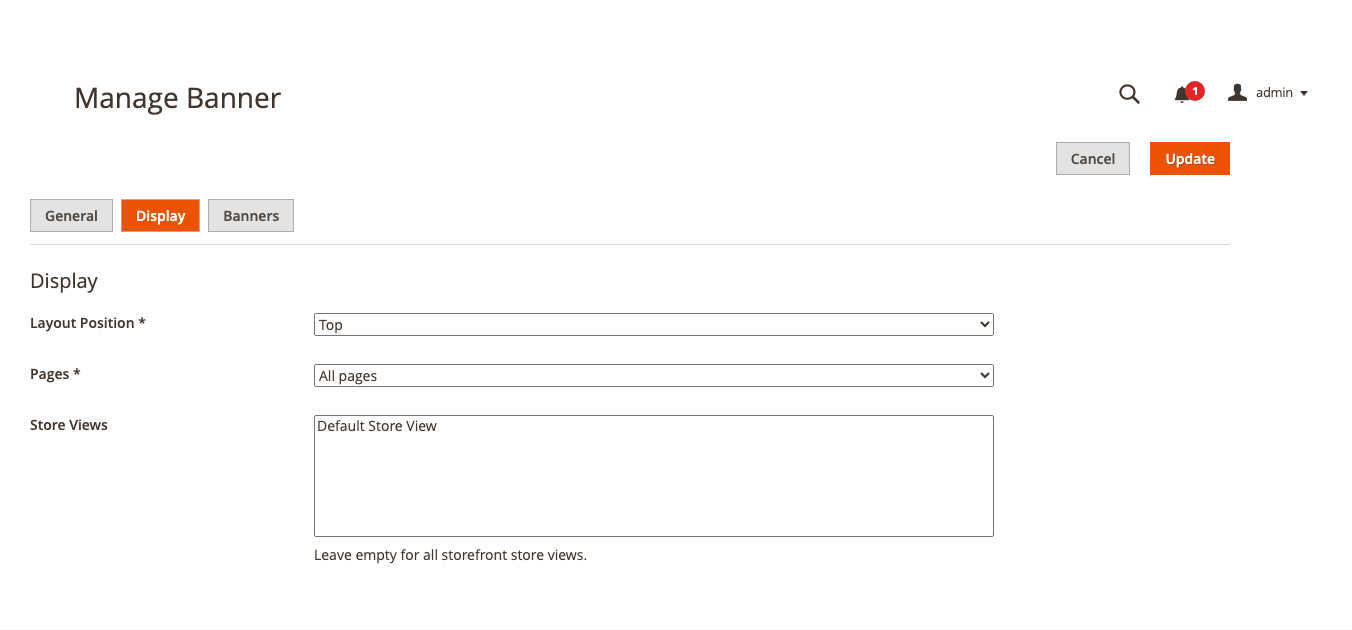
In Display, choose the Layout Position: Top, Center, or Bottom. Choose All pages, or Specific Pages and select the relevant CMS pages, categories, or products. Select Store Views; an empty selection includes all storefront views.
In Banners, select one or more images from Image Storage. Only active images that match the customer's group and device can appear. Set the campaign Status to Active and click Update when ready.
Active campaigns cannot share a position when their store views, schedules, and page targets overlap. If Magento reports a conflict, change the position, narrow the targeting, adjust the dates, or deactivate the competing campaign. Inactive drafts may overlap.
The campaign grid's duplicate action creates an inactive draft. Review its title, dates, audience, and artwork before activating it.
5. Configure a promotion or popup
Promo Banner campaigns use the Center position and an active Catalog Price Rule. The rule must apply to the current website, customer group, and date, and match the viewed product or a visible cart product. This setting does not use Cart Price Rules or arbitrary cart subtotal conditions.
For an overlay, choose Popup Banner on the image. Set centered or fullscreen display and its dimensions. Add that image to a campaign with the intended page targeting.
Automatic closing controls when the overlay closes itself; Never leaves it open until a permitted customer action. Customer closing controls whether closing is available immediately, after a delay, or never. If customer closing is disabled, automatic closing must be enabled.
Automatic reopening controls the delay before a closed popup can appear again. Never suppresses reopening for the browser session. Test in a fresh browser session when checking this setting. Escape follows the same customer-closing permission as the close button.
6. Check the storefront
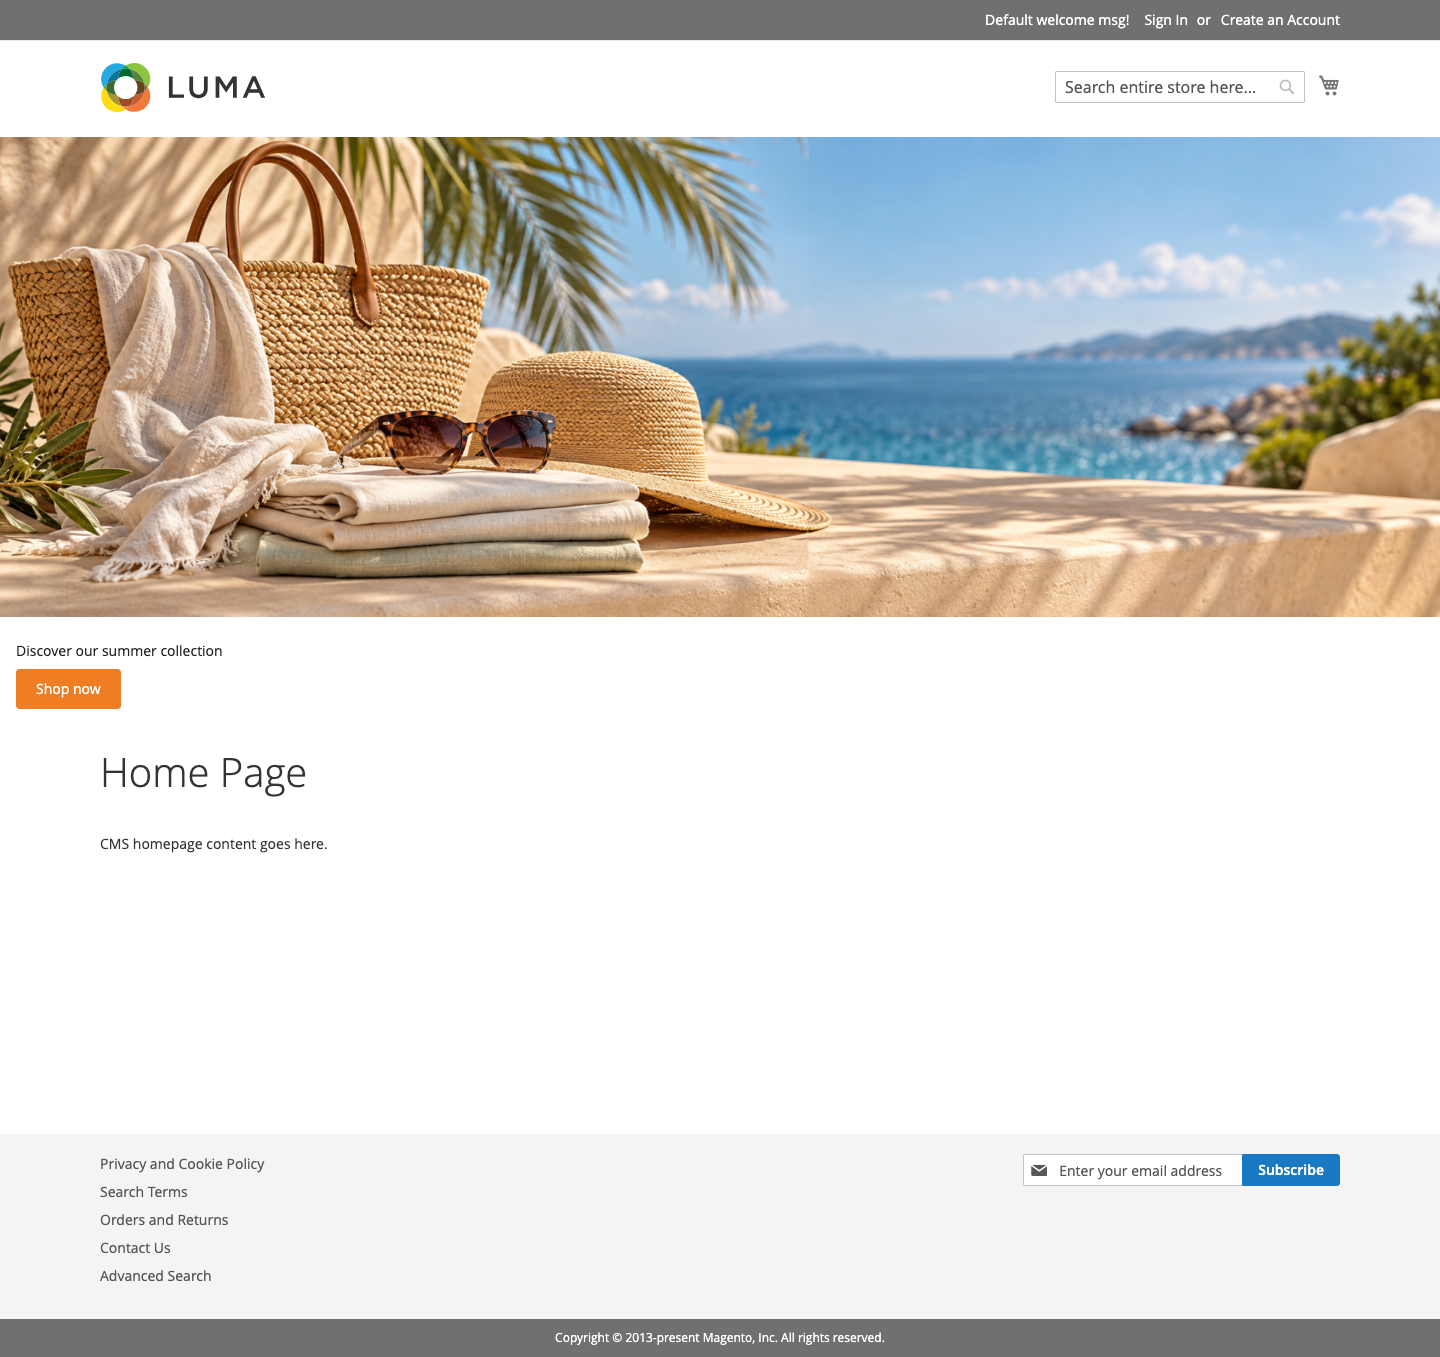
Open a targeted storefront page and confirm the placement, image, destination, and text. Check both desktop and mobile widths and test logged-out visitors as well as the selected customer groups. Confirm that the campaign's dates and store view include the page you are testing.
If a banner is missing, check the campaign and image statuses first, then selected images, UTC dates, store views, page targets, device visibility, and customer groups. For a promotion, also check the Catalog Price Rule and matching product context.
7. Review statistics
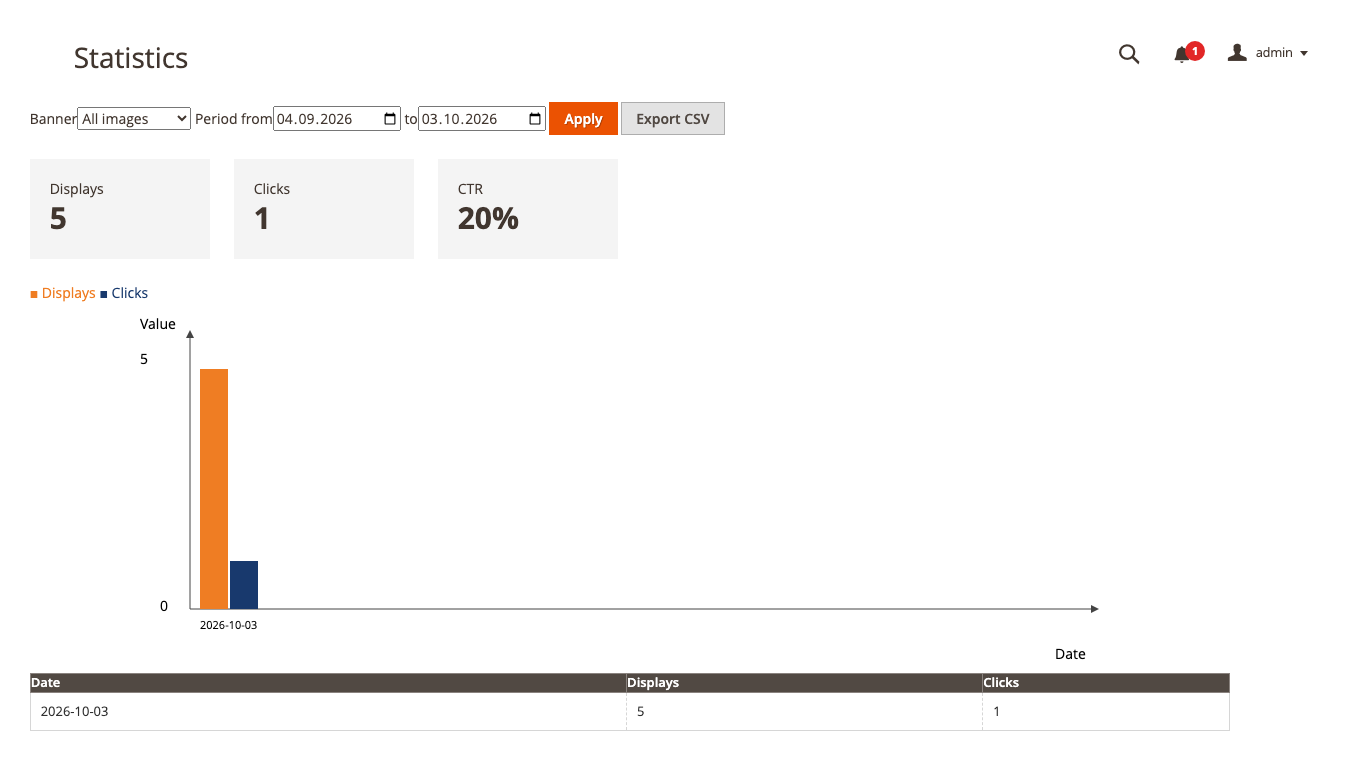
Open Magedia > Banner Manager > Statistics. Select one image or all images, then choose Period from and Period to. Dates are inclusive in UTC; a report period can cover up to 366 days. Apply the filters to see daily displays and clicks, totals, and CTR. CSV export uses the same filters.
CTR is clicks divided by displays, multiplied by 100. It is zero when there are no displays. These are banner interaction counts, not unique visitors, orders, or revenue. Image Storage shows all-time image totals; a filtered report may show different totals.
A regular banner records a display when at least a quarter of it becomes visible; a popup records a display when it opens. Preview does not count. Repeated tracking messages for the same delivery are suppressed.
Maintain and troubleshoot campaigns
Deactivate a campaign to stop displaying it. A campaign can only be deleted while inactive. An image must be inactive and removed from all referencing campaigns before deletion. Deleting a record retains its media files to avoid breaking shared assets.
If reminders are missing, check the notification option, end date, recipient, Magento cron, and email transport. If menus are missing or Magento reports an invalid Magedia Core parent, check that Core is installed and enabled, run setup upgrade, and clean configuration and layout caches.
After extension or theme asset changes, deploy static content for the correct locales and refresh the browser. If an administrator sees a read-only editor, review their role permissions. Contact [email protected] with reproduction steps, the installed extension and Magento/PHP versions, and sanitized error details.