Install Magento 2 extension
Installation Guide
For Magento 2.X Magedia Extensions
To Install Magento 2 Extension by Magedia select a solution based on the downloaded package:
- Extension installation via ZIP upload
- Extension installation via Composer
1. Extension installation via ZIP upload
Unpack the extension ZIP file on your computer.
Note: Magedia Core module will be included in this ZIP package. You need to install Magedia Core module only once. If you install several extensions by Magedia, they will include the same files from the Base package.
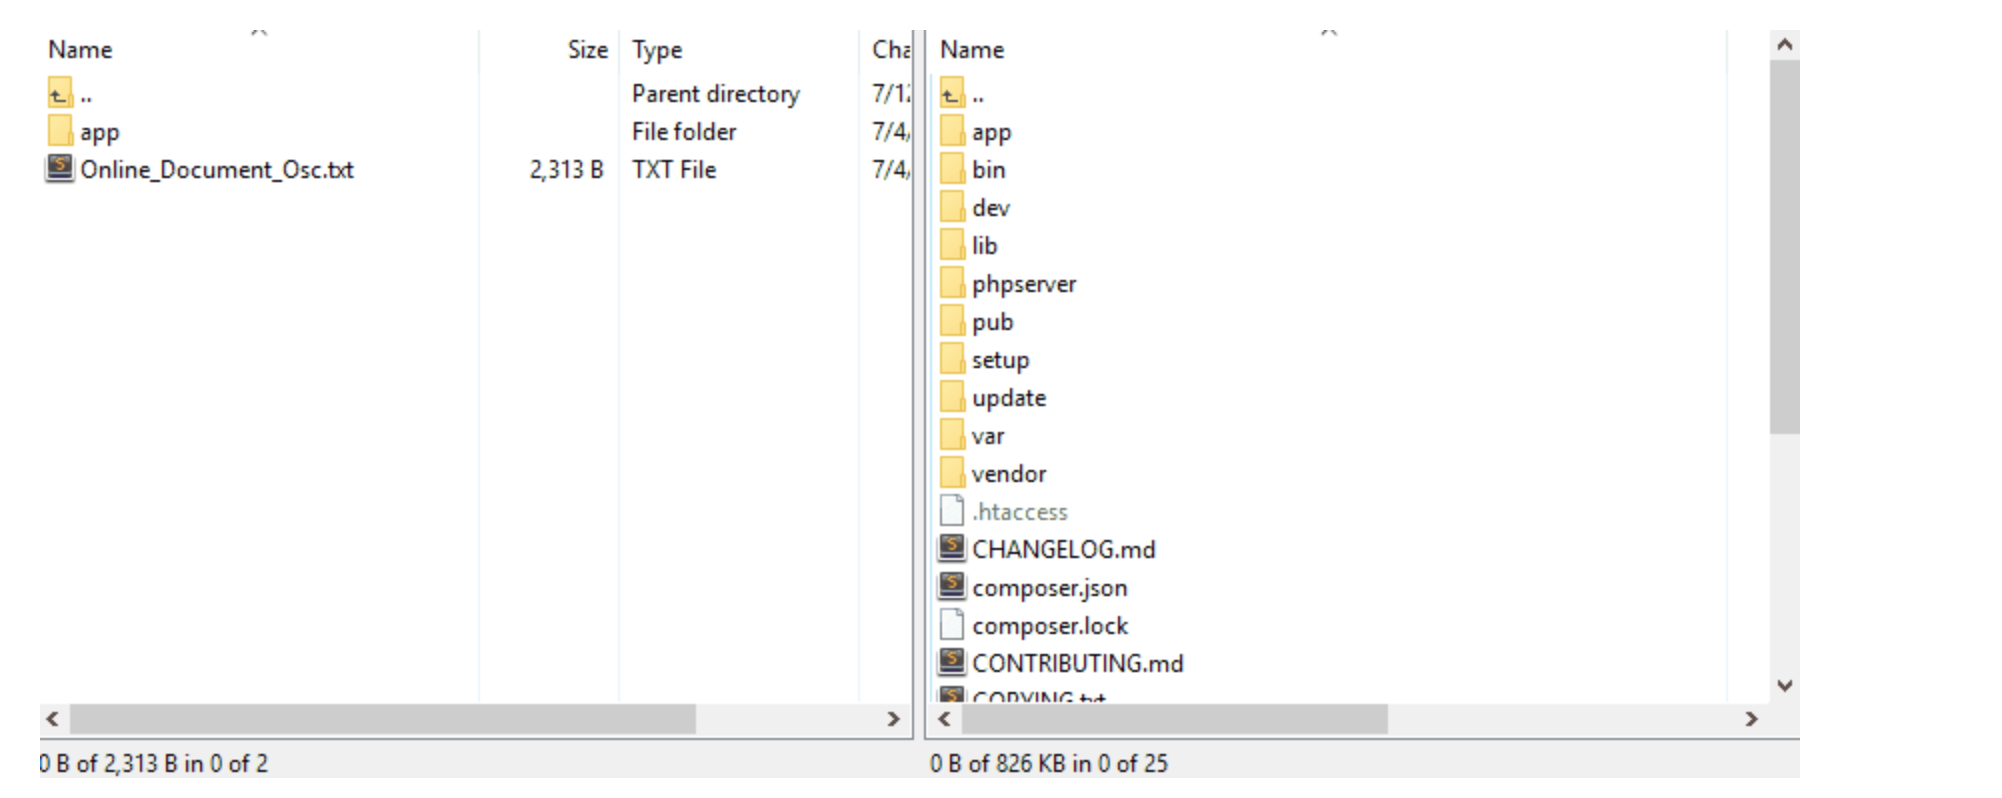
Then, create the folders called app/code/Magedia/Core/ and app/code/Magedia/ModuleName/ and move there the corresponding files from the archive.
Connect to your website source folder with FTP/SFTP/SSH client.
We recommend to use FileZilla and WinSCP clients. And then upload all the files and folders from the extension package to the corresponding root folder of your Magento installation.
Connect to your Magento directory with SSH.
Run the following commands:
- php bin/magento setup:upgrade
- php bin/magento setup:di:compile
- php bin/magento setup:static-content:deploy
- php bin/magento cache:clear
2. Installing via Composer
Note: This manual assumes that you have already installed and set up the Composer tool. If you haven't installed the Composer yet see the instruction on How to install it. For more info about installation via Composer please see here.
To install the module, please execute the following command:
composer require magedia/module-name
Then connect to your Magento directory and run the following commands:
- php bin/magento setup:upgrade
- php bin/magento setup:di:compile
- php bin/magento setup:static-content:deploy
- php bin/magento cache:clear
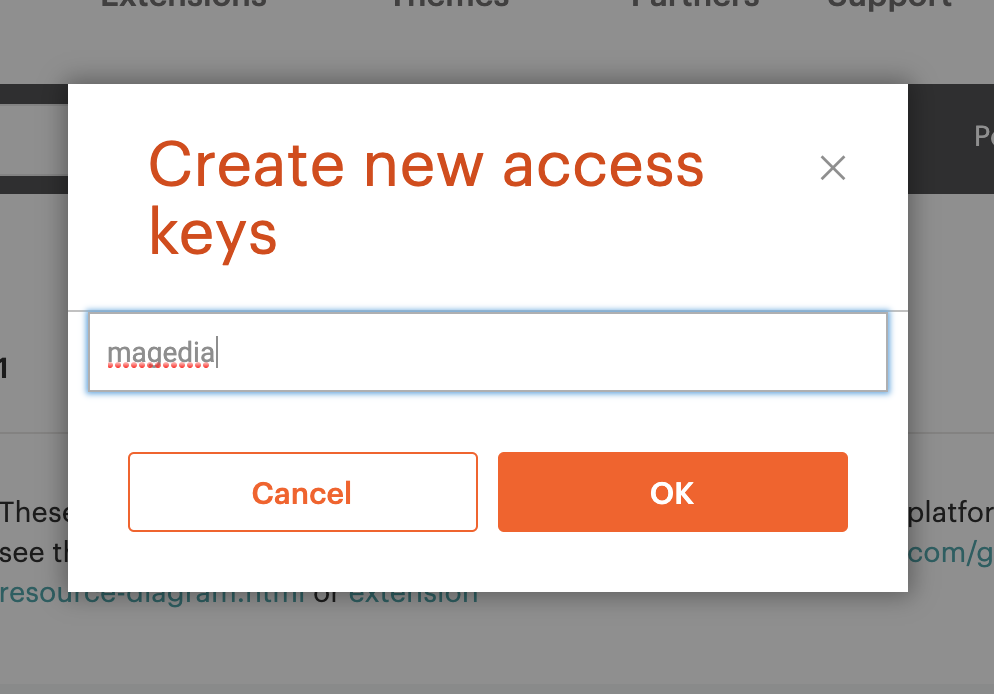
Note! In case if Magento asks you to enter username and password when installing the module via composer, please go to Access Keys on the Magento Marketplace page and press “Create A New Access Key” button.
Then enter the Access key name: Magedia


